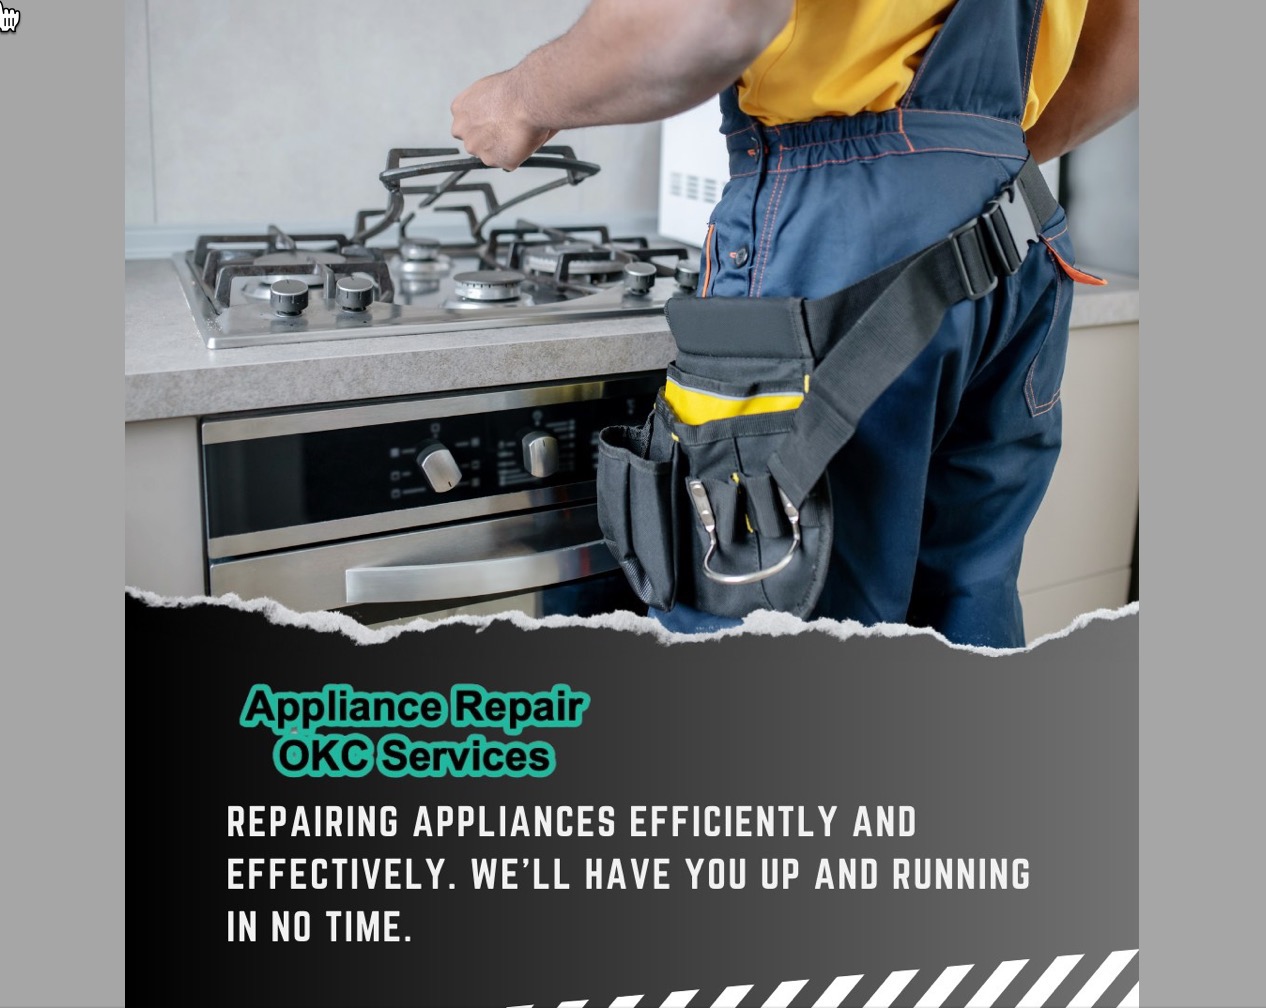
Troubleshooting A Direct-Drive Top-Load Washer That Won’t Fill
Understanding The Common Washer Problems: Troubleshooting A Direct-Drive Top-Load Washer That Won’t Fill
A direct-drive top-load washer not filling with water can be frustrating, but understanding the common problems associated with this malfunction can help troubleshoot and resolve the issue effectively. One potential cause could be a faulty water inlet valve. This valve controls water flow into the washer and may become clogged or worn out. Inspecting the valve for any blockages or signs of damage is crucial in determining if it needs replacement.
Another possible problem could be a malfunctioning water-level pressure switch. This switch regulates the water needed to fill the washer based on size and load. It might prevent further filling if it fails to detect when the washer is empty. It is essential to check this component’s functionality by testing its electrical connections and ensuring proper air pressure.
Additionally, the control board or timer issues can disrupt the filling process. Faulty wiring, damaged switches, or a defective control panel might prevent signals from reaching various components initiating water flow.
Identifying Water Supply Issues: The First Step In Fixing A Non-Filling Washer
When your direct-drive top-load washer refuses to fill with water, it can be frustrating and inconvenient. However, before delving into complex troubleshooting steps, it is crucial to start with the basics: identifying potential water supply issues. This initial step is essential as it allows you to determine whether the problem lies within the washer or the external water source. Begin by checking if there is an adequate water supply reaching your washer.
Ensure the water valves supplying your machine are fully open and functioning correctly. Sometimes, valves can become partially closed or clogged, restricting water flow into the appliance. Next, inspect the hoses connecting your washer to hot and cold water sources. Look for any kinks, leaks, or blockages that may impede proper water flow. These issues can often be resolved by straightening kinks or replacing damaged hoses. Additionally, verify that there are no obstructions in the inlet screens of your washer’s water valve.
Checking The Water Inlet Valve: A Potential Culprit For Your Top-Load Washer’s Filling Problem
One common issue that can cause a top-load washer to fail to fill with water is a faulty water inlet valve. During the fill cycle, the water inlet valve controls water flow into your washer’s drum. If this valve malfunctions, it can prevent water from entering the machine, leading to a frustrating washing experience. To troubleshoot this problem, turn off the washer and unplug it from the power source.
Locate the water inlet valve at the back of the machine near where the hoses connect. Inspect for any visible signs of damage or debris clogging up the valve. Next, disconnect hot and cold water supply hoses from their valves on your home’s plumbing system. Place a bucket underneath these valves and turn them on individually to check if adequate water flows through each hose. If either hose appears to have poor or no water flow, it may indicate a plumbing issue rather than a faulty inlet valve.
Inspecting The Water Level Pressure Switch: Another Possible Cause For A Non-Filling Direct-Drive Washer
When troubleshooting a direct-drive top-load washer that won’t fill, it is essential to consider all potential causes. The water level pressure switch is a frequently overlooked component that may be responsible for this issue. The water level pressure switch is an integral part of the washer’s control system and is responsible for detecting and regulating the water level inside the machine. If this switch malfunctions or becomes faulty, it can prevent the washer from filling correctly.
To inspect the water level pressure switch, locate it within the appliance. It is usually located near or attached to the tub inside the control panel area. Carefully remove any covers or panels necessary to access it. Once exposed, visually inspect the switch for any signs of damage, such as loose wires or broken connections. Ensure that all electrical connections are secure and free from corrosion.
Next, using a multimeter set to measure continuity or resistance, test if there is proper continuity across each switch terminal when activated manually by blowing into its hose.
Examining The Lid Switch Assembly: Could This Be Why Your Top-Load Washer Won’t Fill?
Examining the Lid Switch Assembly: Could This be Why Your Top-Load Washer Won’t Fill? A faulty lid switch assembly could be a possible reason why your top-load washer is not filling with water. The lid switch ensures the washer will only operate when the lid is securely closed. It acts as a safety mechanism to prevent accidents during operation.
To examine the lid switch assembly, start by unplugging the washer from the power source and locating the switch. It is usually located near the door frame or under the control panel. Check for any visible signs of damage, such as loose wires, corrosion, or a broken switch mechanism. Next, perform a simple continuity test using a multimeter to determine if there is an electrical connection when the lid is closed and no connection when it’s open.
If there is no continuity when closed or continuity when open, it indicates that the lid switch needs to be replaced. A malfunctioning lid switch can prevent water from entering your washer as it fails to signal that the lid is closed correctly.
Seeking Professional Help: When To Call An Expert For Troubleshooting Your Direct-Drive Top-Load Washer’s Filling Issue
While troubleshooting a direct-drive top-load washer that won’t fill can often be resolved by following a few simple steps, there are instances when seeking professional help becomes necessary. Recognizing when to call an expert can save you time, money, and frustration. One crucial factor to consider is the complexity of the problem. Suppose you’ve attempted basic troubleshooting methods, such as checking the water supply valves and ensuring proper hose connections, but still can’t identify the cause of the filling issue. In that case, it may be best to consult a professional.
They possess specialized knowledge and expertise in diagnosing and resolving more intricate problems. Additionally, if you lack experience or confidence in dealing with electrical components or mechanical parts, calling an expert is strongly advised. Tampering with these components without sufficient knowledge could lead to further damage or even personal injury. Another indicator that professional assistance is needed is when your washer is still under warranty. Attempting repairs yourself might void the warranty provided by the manufacturer.
To schedule washing machine repairs in Oklahoma City, contact Appliance Repair OKC Services by calling 405-378-4566 or visit our website at https://www.okcappliance.com. Also, our Google business website can be found at https://cutt.ly/YEnc8qk. Call now!
The post Troubleshooting a Direct-Drive Top-Load Washer That Won’t Fill appeared first on Appliance Repair OKC Services | Best Appliance, Washing Machine Repair Company in Oklahoma.