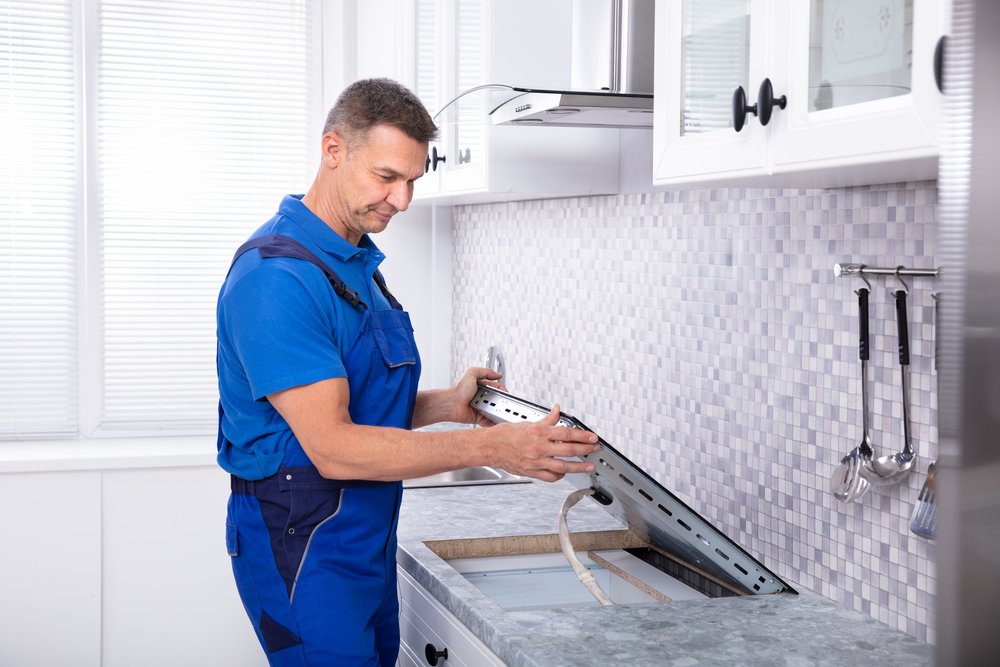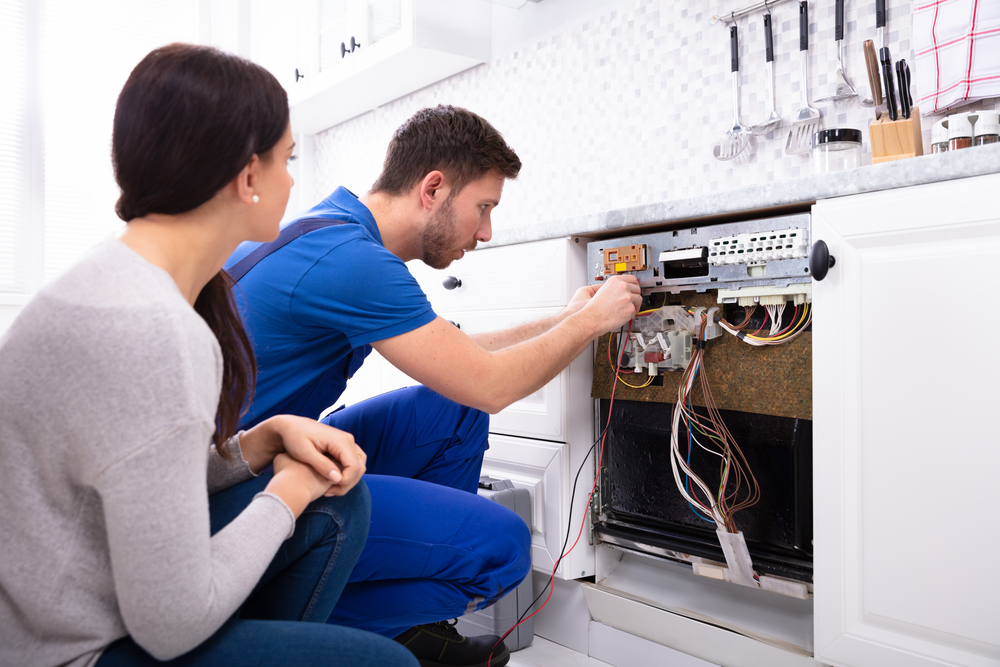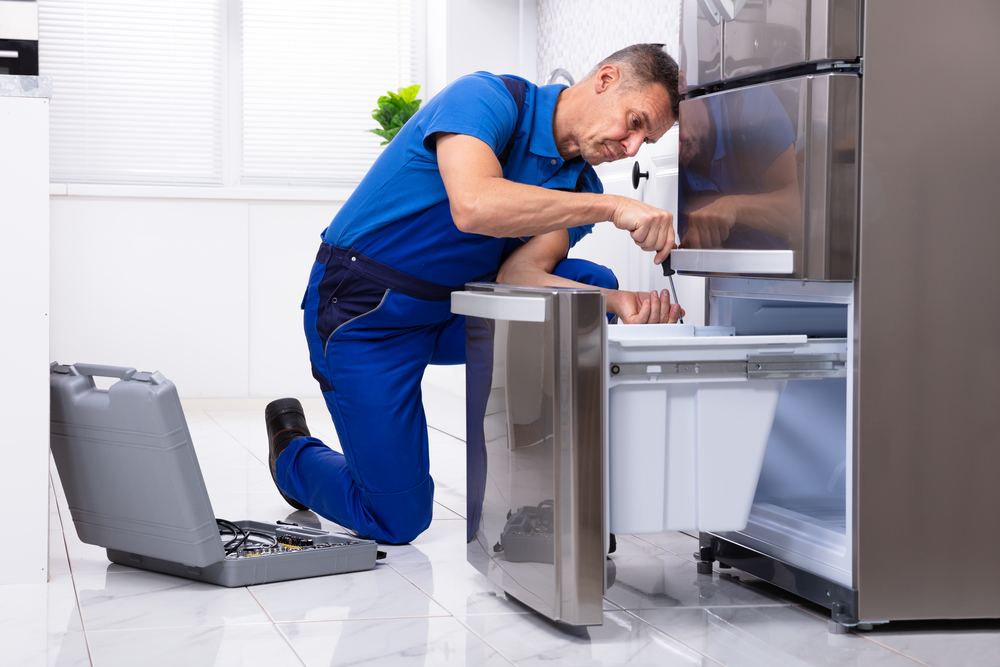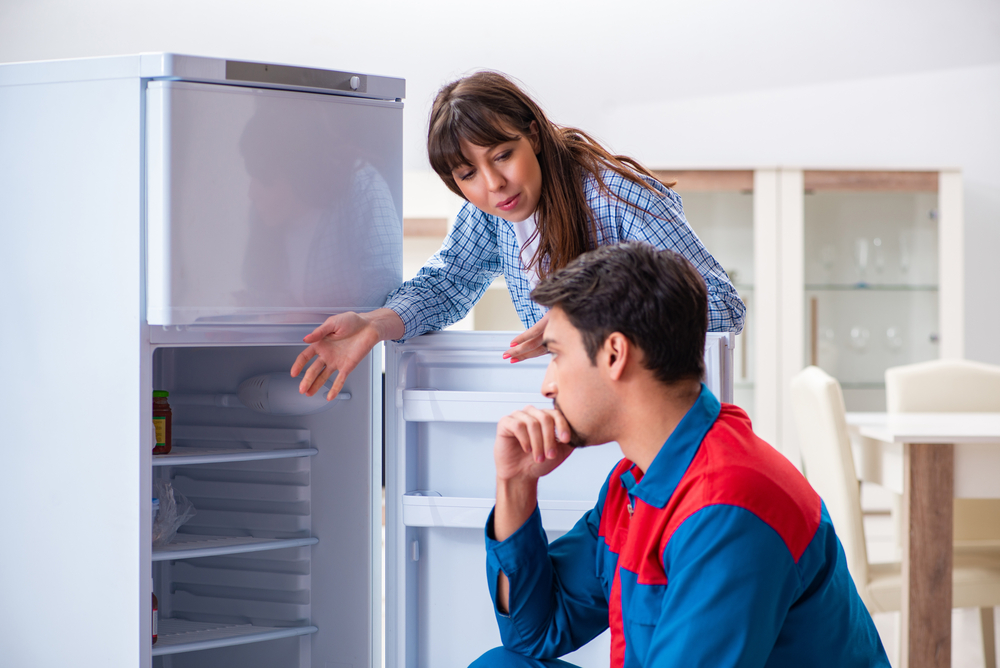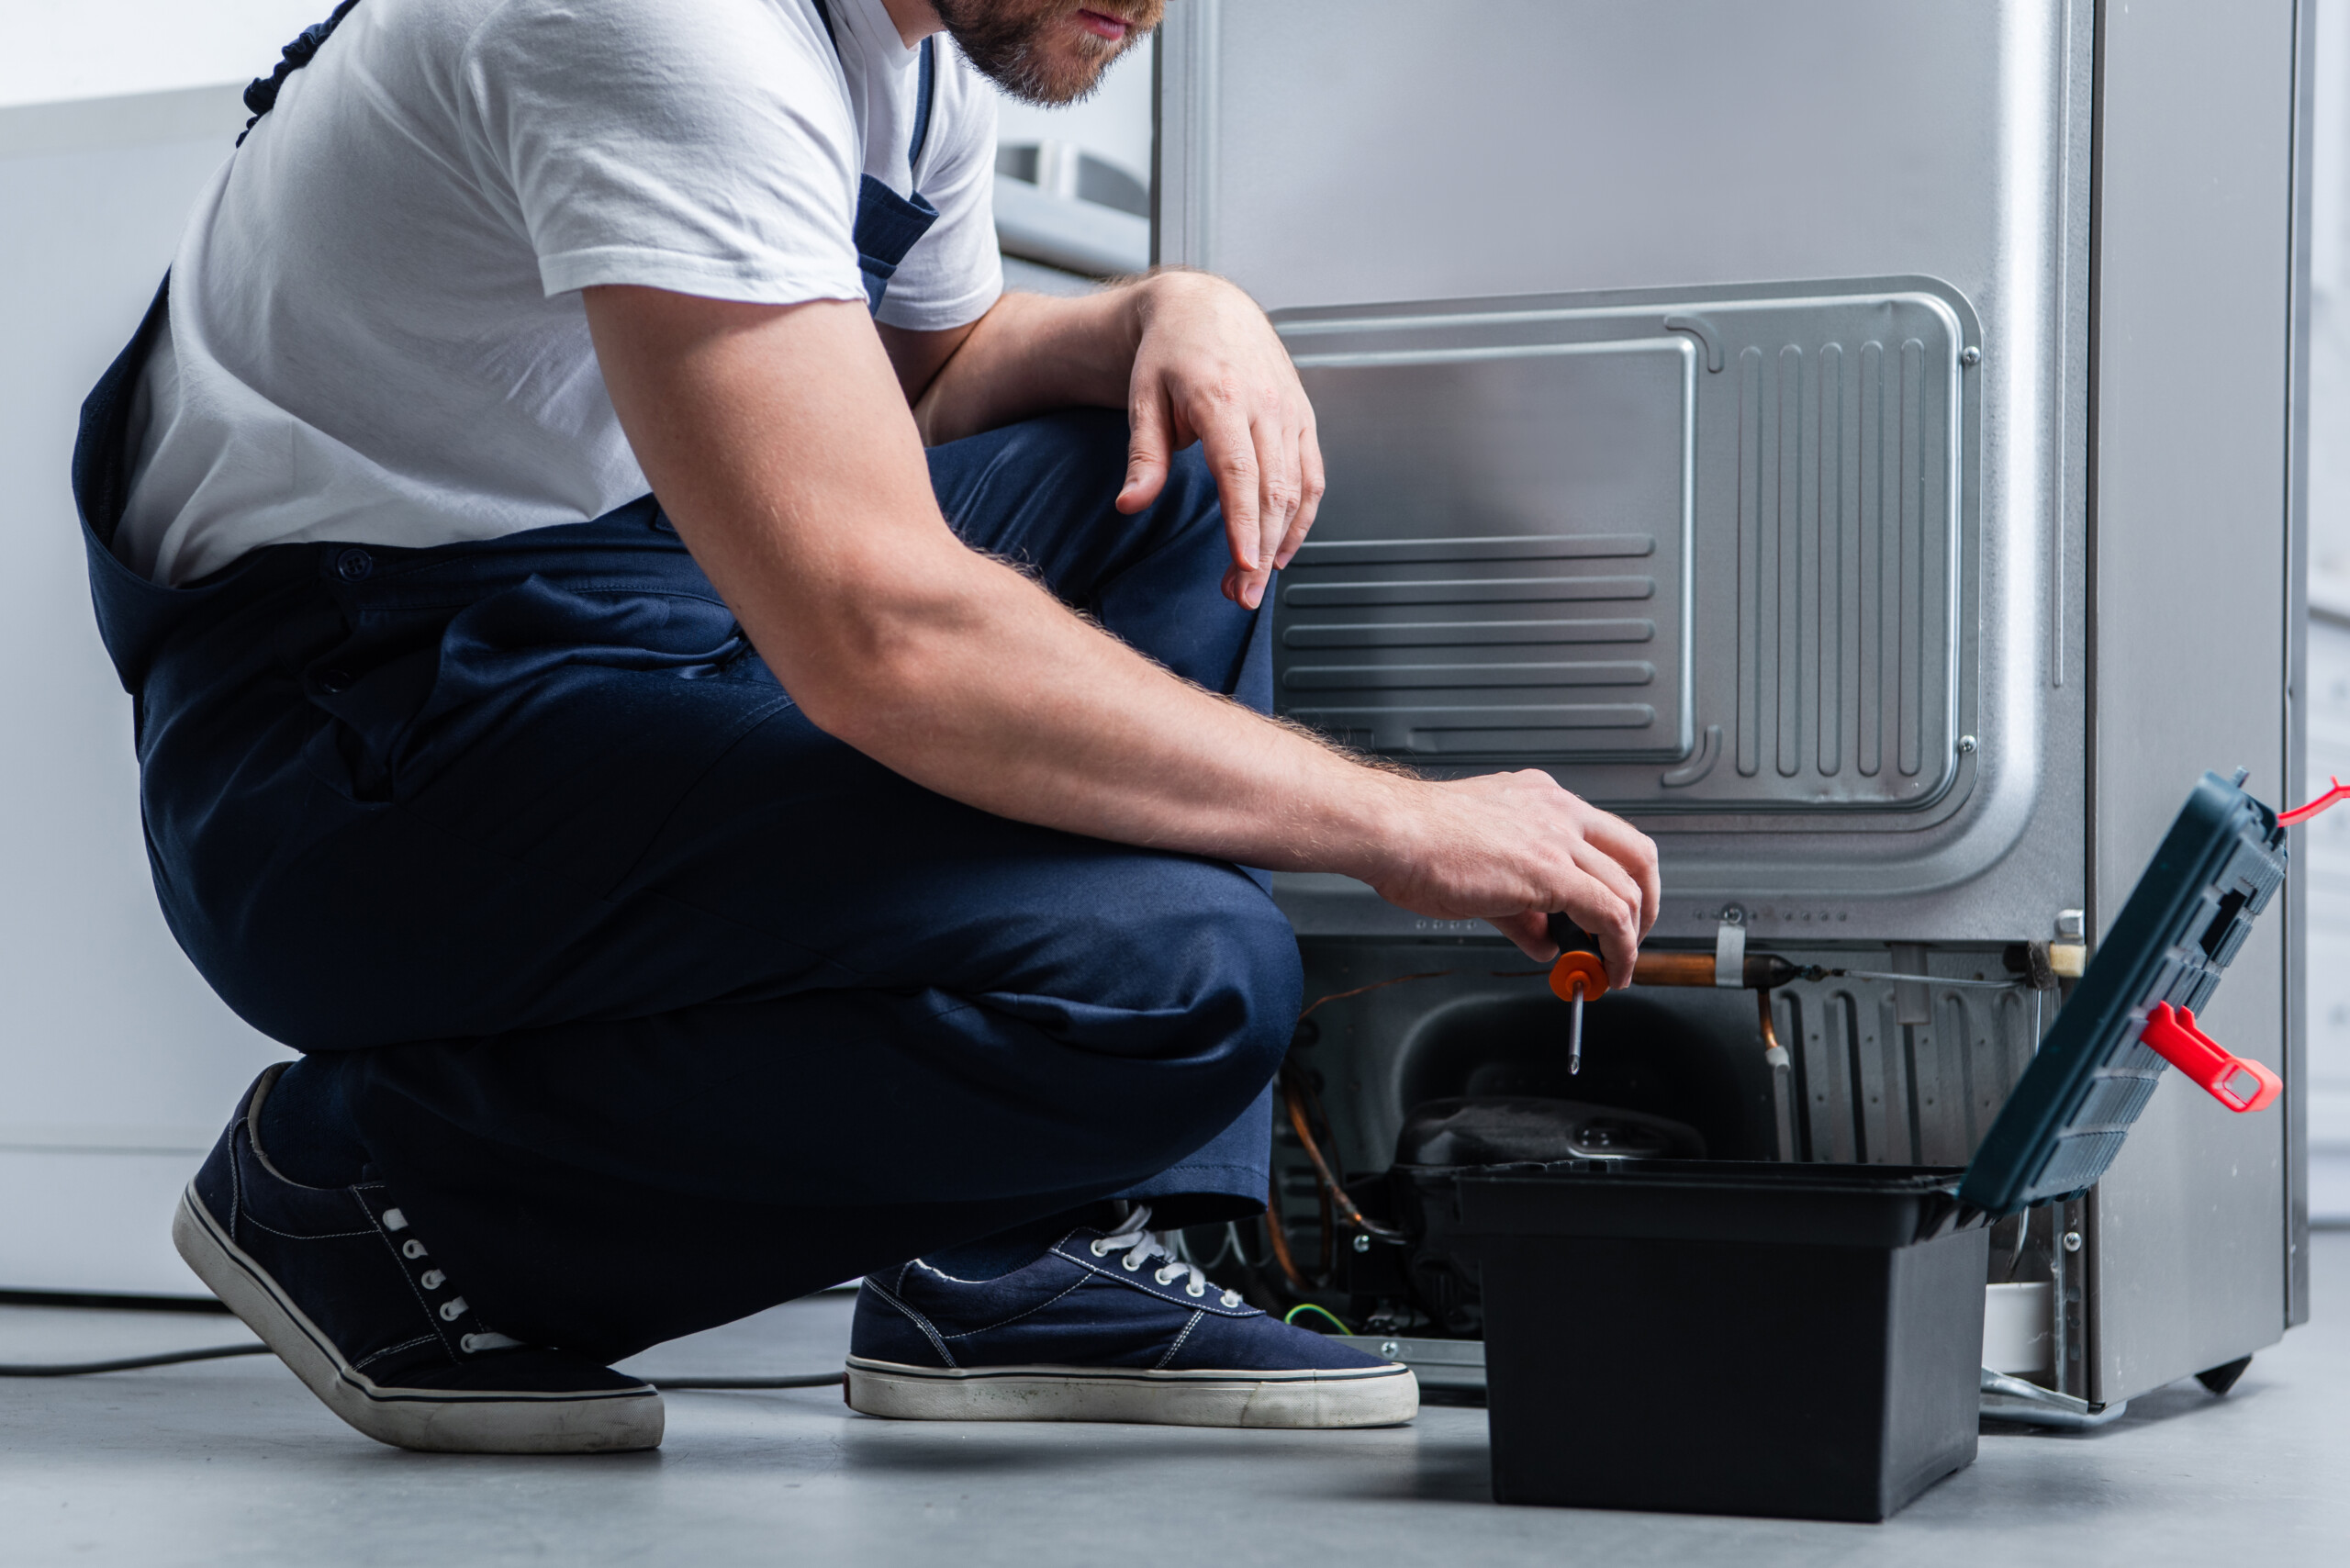
Technician repairing refrigerator
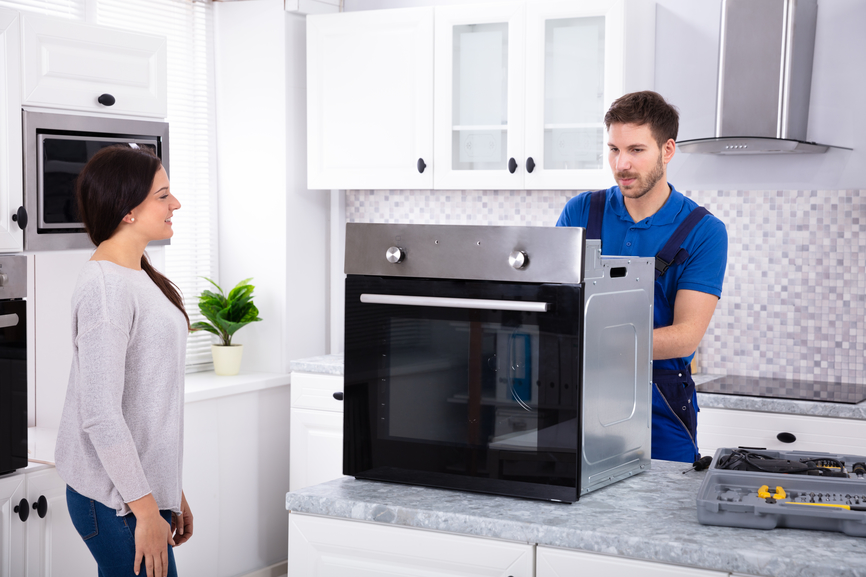
Double Door Refrigerator Lower Section Not Cooling?
Another common issue for Samsung fridges which will not chill, even when the freezer is working correctly, is the malfunction of a thermosistor. If the freezer is cool, but the fridge is hot, then the parts cooling the fridge and freezer may be working correctly. The problem could be in fact air that is already reaching the freezer is reaching the fridge as well. When your fridge is not getting cold, but the freezer is, then the problem is likely due to one of the mechanisms of your fridge malfunctioning.
If your Samsung fridge is not cooling at all, both the freezer and refrigerator sections, and you notice temperatures rising, the problem is related to the inverter panel on your compressor failing, a faulty compressor, refrigerant leaking into your sealed system, or a plugged-in dryer filter. A common cause of why your Samsung French Door Refrigerator might not cool might be because you did not properly connect it to a power socket. Check to make sure that you are not overloading your Samsung French Door Refrigerator with too much food items as it will clog air vents.
If you pack your food items or containers in the fridge too tightly or close together, you will block air vents. Find vents both in your freezer and in your cooler and eliminate any items that may block them. You will have to confirm whether or not your food is blocking air vents, and attempt to unpack the freezer or fridge. If those vents are blocked with too many items in your freezer, it may restrict airflow, which will then flow into the refrigerator.
If anything blocks cold air, that could lead to uneven temperatures inside your refrigerator. Cold air cycles back and forth through air vents. Freezer-freeze accumulation also blocks a vent, diminishing or blocking the cold air that gets to a coolers compartment.
If your freezer compartment is badly frosted, disconnect the fridge and open the freezer door to let the ice melt. When your refrigerator is defrosting, it will have lower temperatures, but will not be cooling as well as it should. A fridge that is in defrost mode will keep the temperature low, but not cool enough. If a defrost timer goes bad and stops at cooling, this causes excess ice buildup on the evaporator coils, reducing airflow.
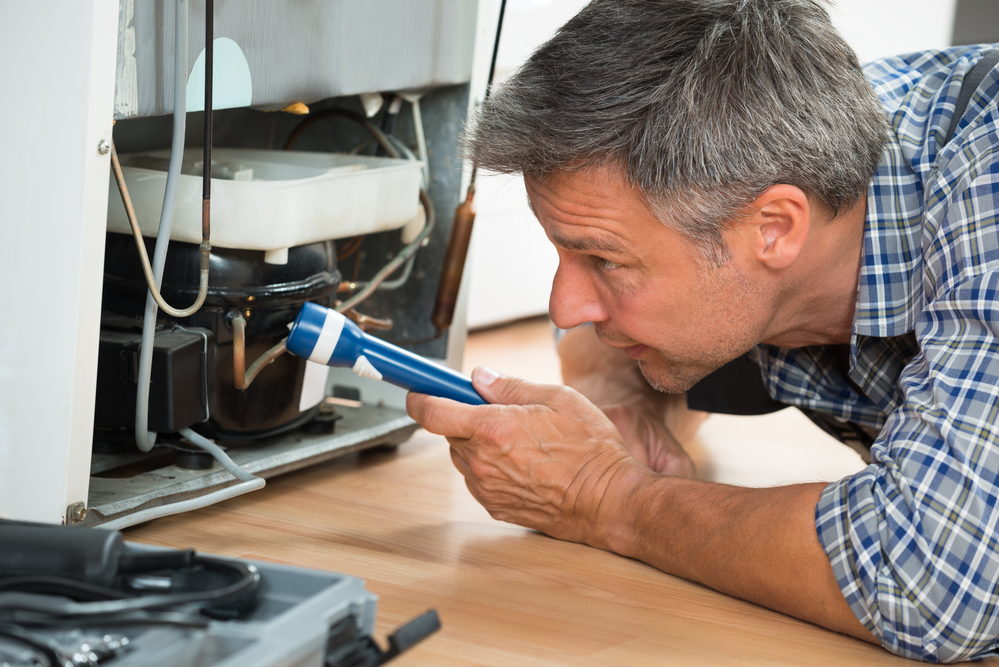
If A defrost heater goes bad, excessive frost builds up on the coils reducing the cooling air flow within your cooler. When a defrost heater assembly is malfunctioning, excessive frost builds up on evaporator coils, as a result, the airflow is restricted, which results in your fridge not cooling. There might still be some cold due to the ice on the coils, but without the airflow across the coils. This ice must be removed through manual or auto defrost (in ice-free fridges) to ensure the cooling is correct within the fridge. In every refrigerator that is not frost-free, a defrost system is installed that controls both cooling and defrost cycles.
Under normal circumstances, a defrost heater assembly (you can buy it here) is responsible for defrosting any ice forming on the refrigerators evaporator coils, which are designed to let cool air through freely, thus leading to the freezer being chilled. To get your refrigerator temporarily working, take off the back of the freezer and clean off all of the built-up frost (pouring hot water on to the evaporator coils is best). When evaporator coils are covered in frost, evaporator fans cannot circulate cool air inside the refrigerator because of blockage, and the refrigerator does not get cooled. If you are not feeling the cold air flowing in your refrigerator (but know that the evaporator fan is working), it is very possible that your damper is jammed, or is stuck in a closed position.
If an air damper cannot shut down or is unable to open, then air cooling may affect your fridge temperatures, whereas your freezer stays at a proper temperature. The control for air damper on the fridge opens, and then closes, allowing cooler air to enter the refrigerator compartment. If your condenser fan is not working correctly, your fridges temperature may increase, and your compressor may overheat.
It is standard to find that most fridges use a fan to push the cold air from the freezer to the evaporator, which is then forced to the cooler region in order to maintain the cooling temperatures. Both sides of your LG fridge are kept cold thanks to the cold air being pulled through the coils in the evaporator by a fan, and that fan then circulates air through both sides. A faulty fan motor in your evaporator slowly causes one side of your fridge to stop cooling because it is not being circulated.
If your freezer starts producing ice in the wrong places, like in vents or the evaporator coils, it could mean that you have the right-temperature freezer, but an overheated fridge. A malfunctioning control board will read temperature sensors incorrectly, meaning your fridge cannot properly cool. Even if everything else in the fridge is working properly, if the door seal–also called adoor gasket–is not working properly, cold air inside the fridge can be lost.
Organize the refrigerator, or remove any foods that may block airflow and keep the fridge from cooling. A good rule of thumb is to store plenty of food items in the fridge, which will help keep the temperature down, but not to pack it too tightly that the air cannot circulate from shelf to shelf easily. It can take up to a whole day for a freezer to defrost, so make plans to keep perishables in coolers or your neighbors fridge.
To schedule refrigerator repairs in Oklahoma City contact Appliance Repair OKC Services by calling 405-378-4566 or visit our website at https://www.okcappliance.com to also our Google business page at https://cutt.ly/YEnc8qk. Call now!
The post Double Door Refrigerator Lower Section Not Cooling? appeared first on Appliance Repair OKC Services | Best Appliance, Washing Machine Repair Company in Oklahoma.