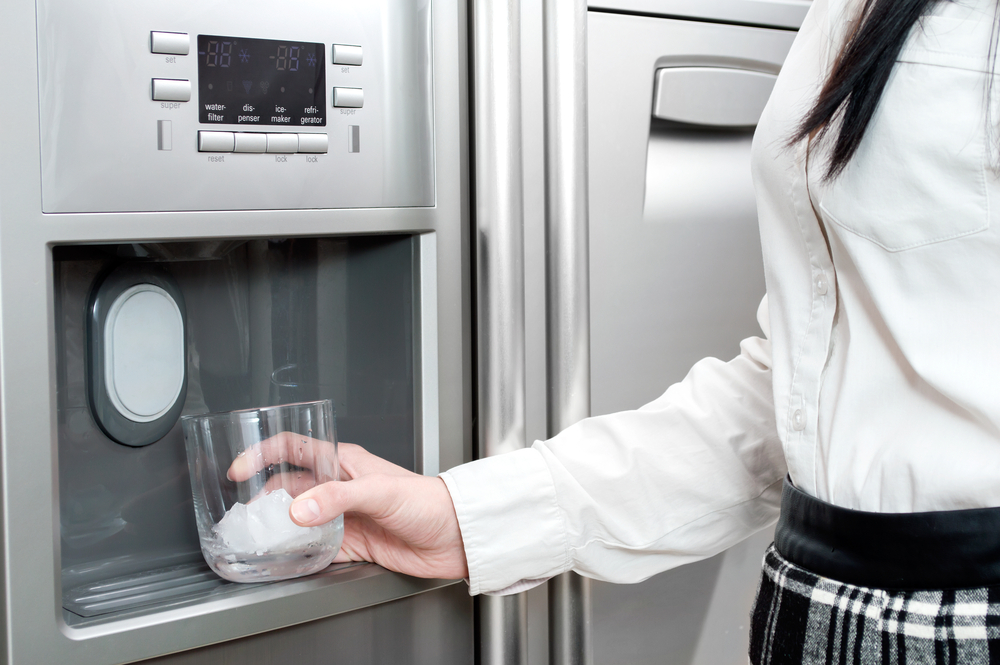
Refrigerator is dispensing clean water.
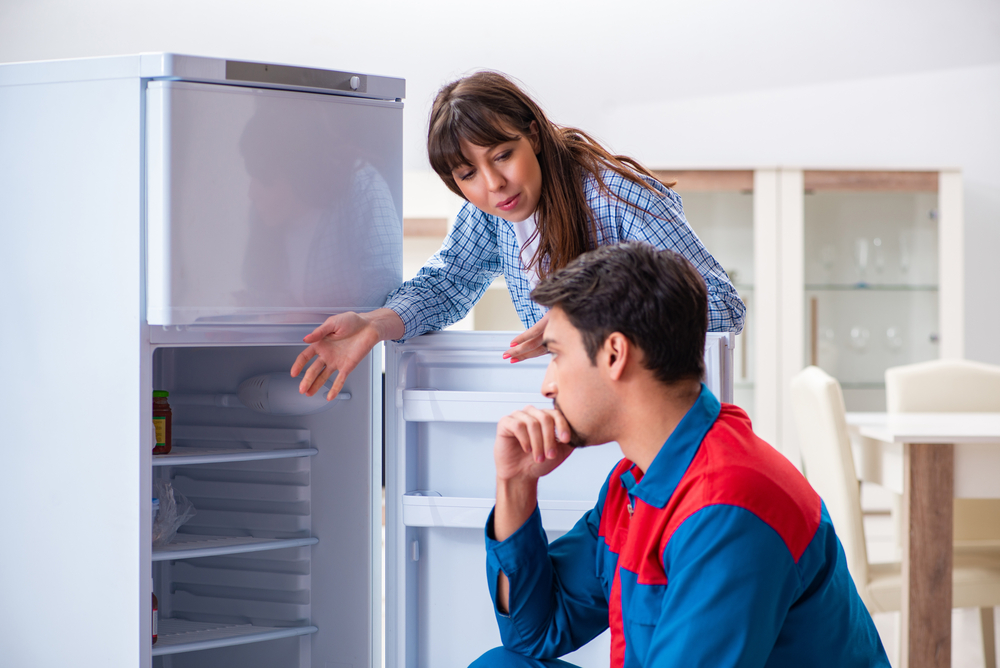
My Refrigerator Water Dispenser Has Stopped Working?
If your fridges water dispenser is not working consistently, or is dispensing water or ice at a slower rate, it could be the filter problem. Filter failures may also contribute to issues with the dispenser limiting the amount of ice and water. Water filter problems are a common cause of dispenser issues, leading to decreased flow or pressure that limits output. Failing to use the OEM filters may lead to leaks and flow issues, which restrict the flow of water into your dispenser.
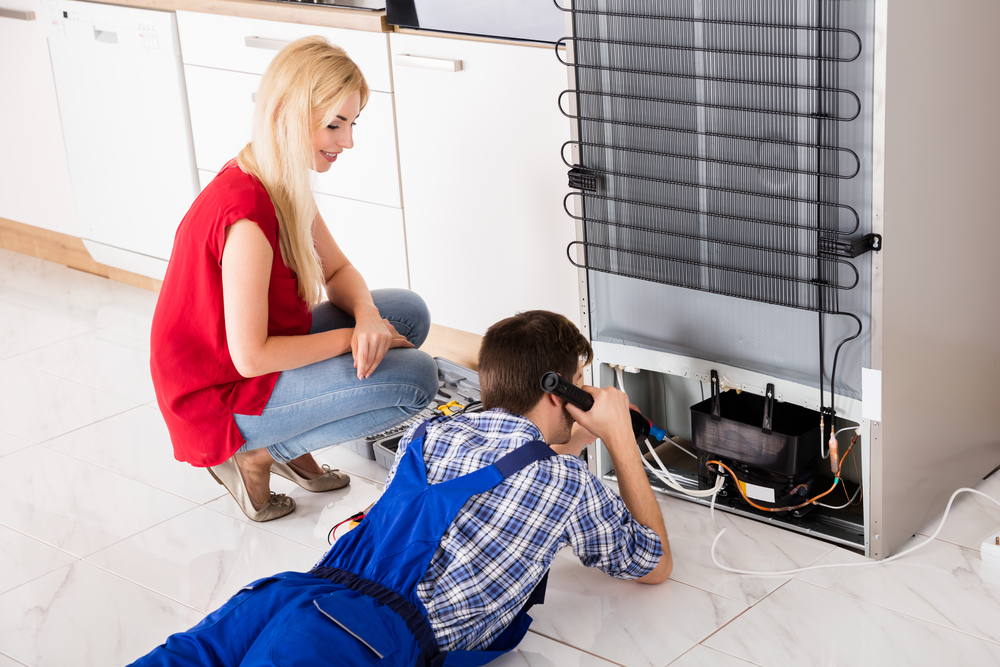
If a fridge filter is not working properly, it may restrict water flow to the dispenser. The refrigerators filter removes impurities from the home water supply before it is disseminated as drinking water and ice. The waterline supplies your fridge with water, connecting it to the water supply in your house, so your refrigerator can produce ice and disseminate a glass of water.
The water for your ice machine is delivered to your fridge from the homes main supply line, and a blockage in the valve that allows the water to enter your fridge could be the reason that is keeping your appliance from dispensing water. If you have made sure that the fridges water dispenser is not locked, the next step is to find the water supply line behind your refrigerator and check to see if the line is installed correctly, and the pipe is not bent at all, which will prevent the water supply to the dispenser.
Once you have replaced the door switch, reconnect the refrigerator, and verify if the water dispenser is working correctly now. If you actually did replace the switch, you can then reassemble the fridge, plug the fridge back in, and check to make sure that replacing the switch solved the issue. If you really did replace the bad water inlet valve, then after you are done with that repair, you need to return the back plate, place your fridge back where you got it, and then plug it back in.
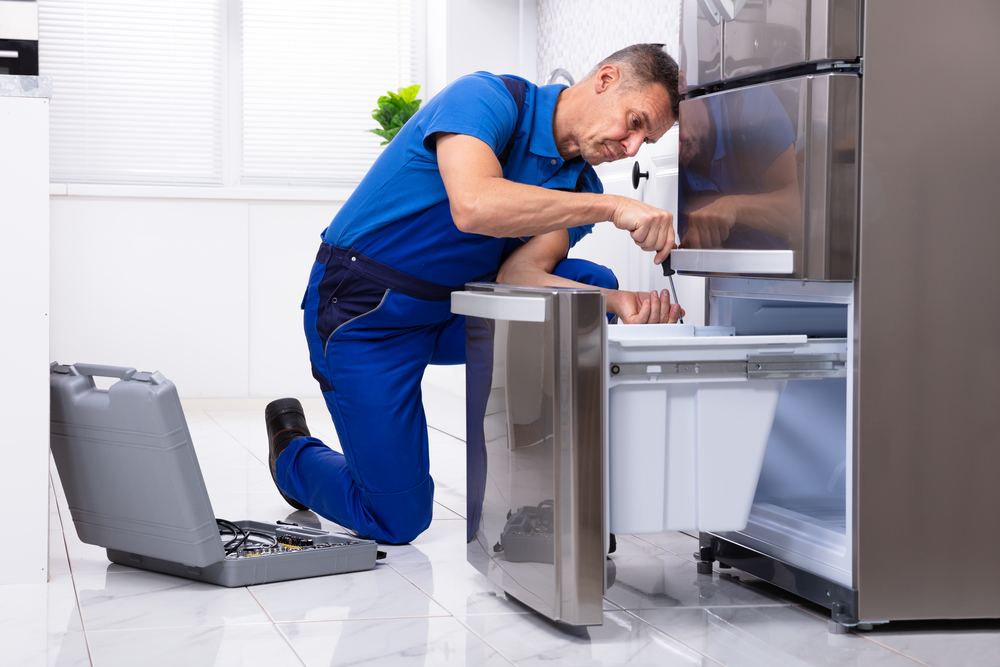
If a dispenser switch is defective, then it will not send the required voltage to open the water inlet valve, and your dispenser will not get any water. If a fridges water inlet valve is damaged or fails electrically, it can stay closed, which will not allow water to reach the dispenser. If the valve does not open enough, water to the dispenser might flow poorly, or problems with the ice maker might restrict the amount of ice produced. Inlet valve problems will cut off the water flow to your fridges water dispenser and ice maker.
This is a common issue with side-by-side fridges, in which the tubing connecting the water supply to the door that houses the water dispenser is frozen because of an incorrect temperature. You will also want to check your water supply line: If a valve is closed, flip it open to allow water to reach your fridge. If no water is coming out, find the tank within the fridge and check to make sure that is frozen. Because water lines need to travel outside of the refrigerators case into the refrigerator door for it to be dissipated, you need to close the door completely before you dispense any water.
It can be difficult to get a thaw, particularly because the water lines are typically hidden inside the refrigerator door or behind some other fridge panel. Fixing it may be as easy as injecting hot water to where the line ends. You can check pressure in your refrigerators water supply at different points to trace the issue.
If you notice that the ice machine is not working, or that your kitchen sink is running with a low pressure, test your homes water pressure, and if it is unable to keep up with a good psi, contact a professional. Make sure that the home water pressure is at a level of 40-120 psi for your dispenser to work correctly. Remove your water filter and check to see if the fridge is now able to dispensing water.
To check your ice and water filter, or change the water filter, you will have to find it within the fridge. If it is been more than six months since the last time the water filter was changed, switch out your water filter for good measure, and make sure you follow the directions exactly for your fridge model and filter to get good results. You should change the filter out every six months to prevent problems and to ensure that the drinking water is always clean. A clogged water filter could cause your GE refrigerators water dispenser to have little or no water, which is why companies recommend changing your filters every six months.
If other features, such as the ice dispense, timer, and light on filter, are not working, the issue might not be in the dispensing assembly at all. If your door switches are malfunctioning, then you may find that the dispenser on your Whirlpool fridge is not working, even when you lock the door. If the pressure switch is broken or blocked with anything, it will not recognize the fridge door is securely closed, and the water will not be dissipated. For a temporary solution, however, you can either take the tank out of the refrigerator so that it thaws, or store the contents of your refrigerator securely in another cooler, and then disconnect your fridge and leave the door open for a couple hours until the tank has thawed.
Without proper voltage, dispensers cannot function. For this step, you will need a voltmeter to verify the power is running to the dispenser valve. The inlet valve of GE’s fridge-type water dispenser requires at least some water pressure from the primary plumbing in your house; at least 20 pounds per square inch is required to keep dispensing water at the inlet valve.
To schedule refrigerator repairs in Oklahoma City contact Appliance Repair OKC Services by calling 405-378-4566 or visit our website at https://www.okcappliance.com to also our Google business page at https://cutt.ly/YEnc8qk. Call now!
The post My Refrigerator Water Dispenser Has Stopped Working? appeared first on Appliance Repair OKC Services | Best Appliance, Washing Machine Repair Company in Oklahoma.