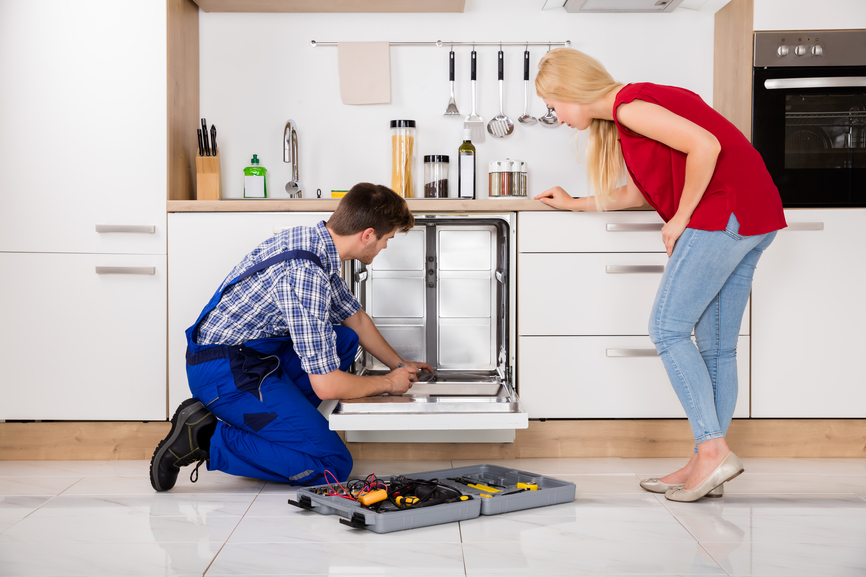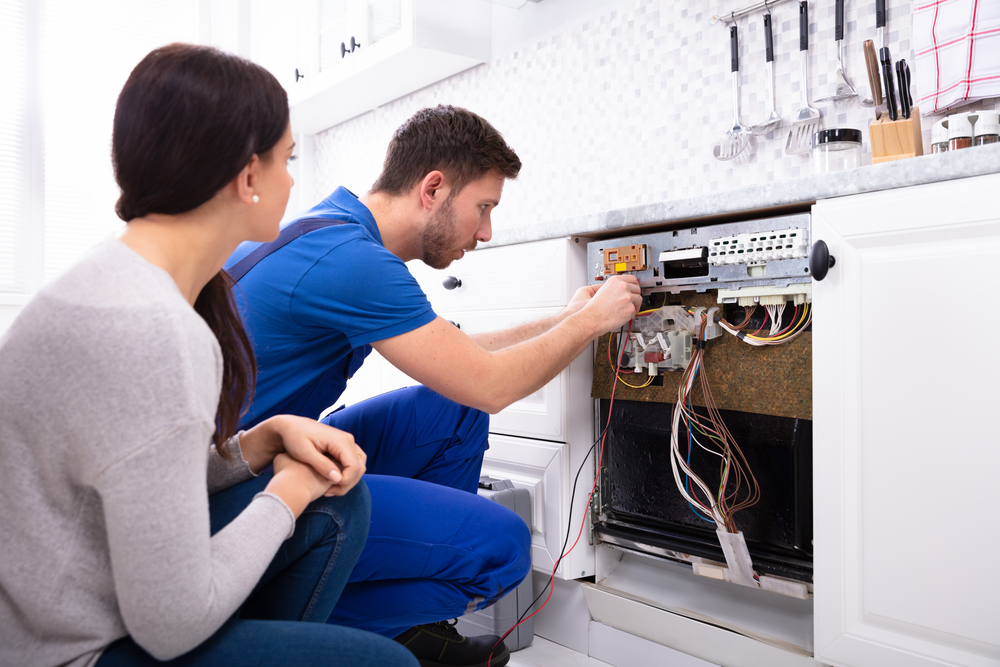
Woman Looking At Male Technician Checking Dishwasher With Digital Multimeter In Kitchen
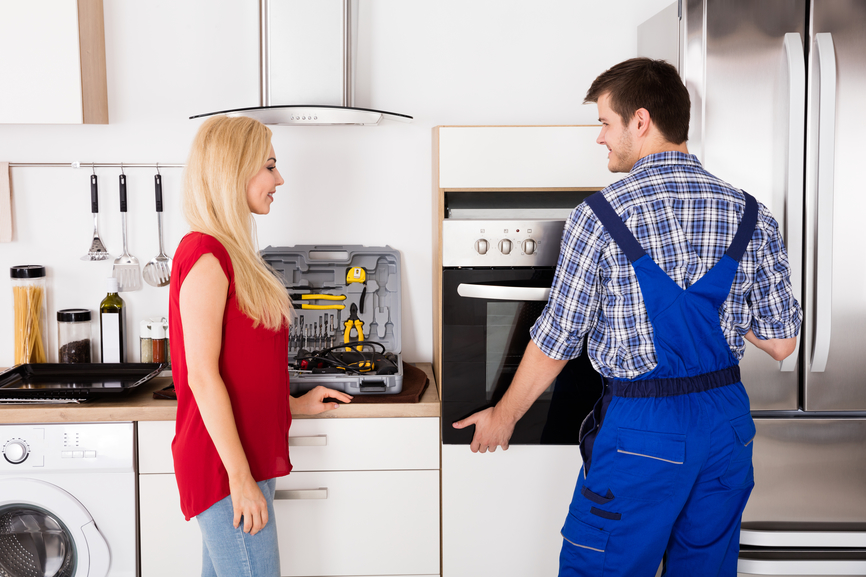
My Dishwasher Control Buttons Aren’t Working?
Let us say that you have eliminated all three reasons listed above, but still, the dishwasher buttons are not working. When your dishwasher buttons do not work, begin your troubleshooting process by checking if the appliance has power. Restoring the electrical supply in a dishwasher that does not has power will make its buttons start working again.
Disconnect your dishwasher from the power cord to make sure that you are working safely, and take off the front panel. If the dishwasher has no power going to it (the display or buttons are not lit, and the dishwasher is unresponsive), there are several things that can be done to try and fix the problem. If the control panel does not have any lights on it, the first thing you should do is to make sure that your dishwasher is connected correctly to a wall-mounted power supply. It is worth noting this is an option if the machine is indeed powered, but simply does not display any lights on yours Control Panel, nor does it function.
If the control panel still does not show any signs of life at all, make sure that the door is completely shut, then try starting the dishwasher again. You may need to disconnect your dishwasher for a couple minutes, hold down the Start button, or wait until your Drain Cycle is complete, then try starting the machine again. If the motor relay that starts the dishwasher stops working, then the machine does not get the green light from the control panel to begin washing. To repair this, disconnect the dishwasher, and then locate the motor start relay behind the lower control panel of your appliance, near the lower access panel of your pumps.
If the door does not shut tight enough to trigger the latch switch, the dishwasher does not get a trigger to begin, meaning the light in the dishwashers control panel does not turn on. If you push any buttons when your dishwasher controls are locked, the Control Locking Light flashes three times. If a latch breaks, then the door cannot be clicked anymore, holding the door closed, meaning that the dishwasher cannot be started or operated safely. The latch-on switch is what tells the dishwasher the door is sealed closed, and that the water is safe for the job of starting.
The door latch assembly keeps the door tight, powers the controls, and keeps the water from running off of the dishwasher. The assembly is important because it makes sure that there is no water leakage while the appliance is running. On many dishwashers, a latch activates the switch that turns on the timer and other control components.
When your dishwasher is not working correctly, several major components, such as the door gasket, the door latch, the switch, and the timer, need to be checked. If the control light in your dishwasher is designed only to turn on when the door latches and the latch switches are working correctly, you should test that the assembly is aligned properly. If your selector switches or their connections to the control panel are damaged, you may have to take off your doors and replace them.
Before doing any replacements, you might want to see if, after you have taken apart the dishwasher, you can get access to the wiring harnesses that run between the Control Panel as a whole and to the control board. If you have used all of the approaches outlined above, and the dishwasher is still not working, you might be getting a damaged control board. You will need professional repair and replacement if the motor driving the dishwasher is the reason why it is not working.
If the dishwasher is not filling up water correctly, or is not drying dishes, it is most likely that your valves or heating elements are in trouble. You can tell there is an electrical power issue if the lights in your Frigidaire dishwasher do not turn on. There is probably a touchpad cable issue if the lights are on, but your Frigidaire dishwashers starting button does not work. Press the start button to see if it works, if not, it means that there is another reason why your Frigidaire dishwashers start button is not working.
Your starter switch may have gone bad, so even though your settings are correct and the latch is closed, your dishwasher does not start. Once you have checked the power and if the doors are closed correctly, consult your manual for the reset program procedure, if the dishwasher is not working yet. Well, if you cannot reset your Bosch dishwasher using the steps mentioned above, another method of making your control board/controls completely reset is by turning the appliance off (hard reset).
Maybe the issue is a programing problem, and all you have to do to get the buttons on your Bosch dishwasher responsive again is perform a quick reboot of your appliance. In fact, the most common reason to replace a control board is when your Bosch dishwasher buttons do not seem to be working (other reasons are soap dispenser failures or the dishwasher does not boot). Now, if you suspect your Bosch dishwasher buttons are themselves to blame, then you’ll have to disassemble everything and install a new control board (this includes the actual buttons, as well as the control board).
To fix the problem, disconnect the dishwasher, and then look behind the interior door for a thermal fuse, which will be connected to the two control panel cables with two wires. When a dishwasher stops midway through a washing cycle, and does not reboot or reset correctly, it may become stuck in this cycle, and be unable to begin the next one.
If you can’t find the cause of the dishwasher problems then call for dishwasher repair in Oklahoma City and be sure and contact Appliance Repair OKC Services by calling 405-378-4566 or visit our local website at https://www.okcappliance.com or also our Google business website at https://cli.re/Dyq1ME. Call now!
The post My Dishwasher Control Buttons Aren’t Working? appeared first on Appliance Repair OKC Services | Best Appliance, Washing Machine Repair Company in Oklahoma.